Adjustable Maker Pipe Mini
Updated: 8/29/21
Printed now with PLA, models remade and oriented on their sides for strength.
Well, I took a crack at remixing the Maker Pipe Minis to get a working Adjustable. I think it worked!
Here are a few specs:
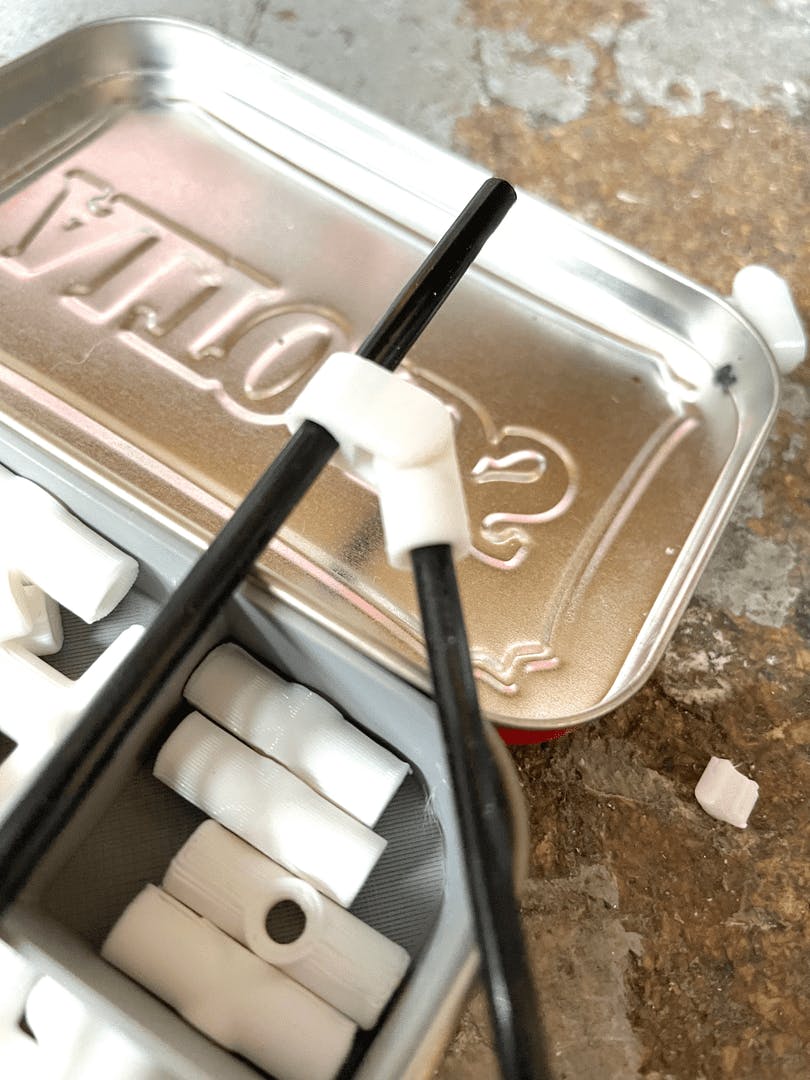
1. Same compatible dimensions for coffee stirrers (tested, works great).
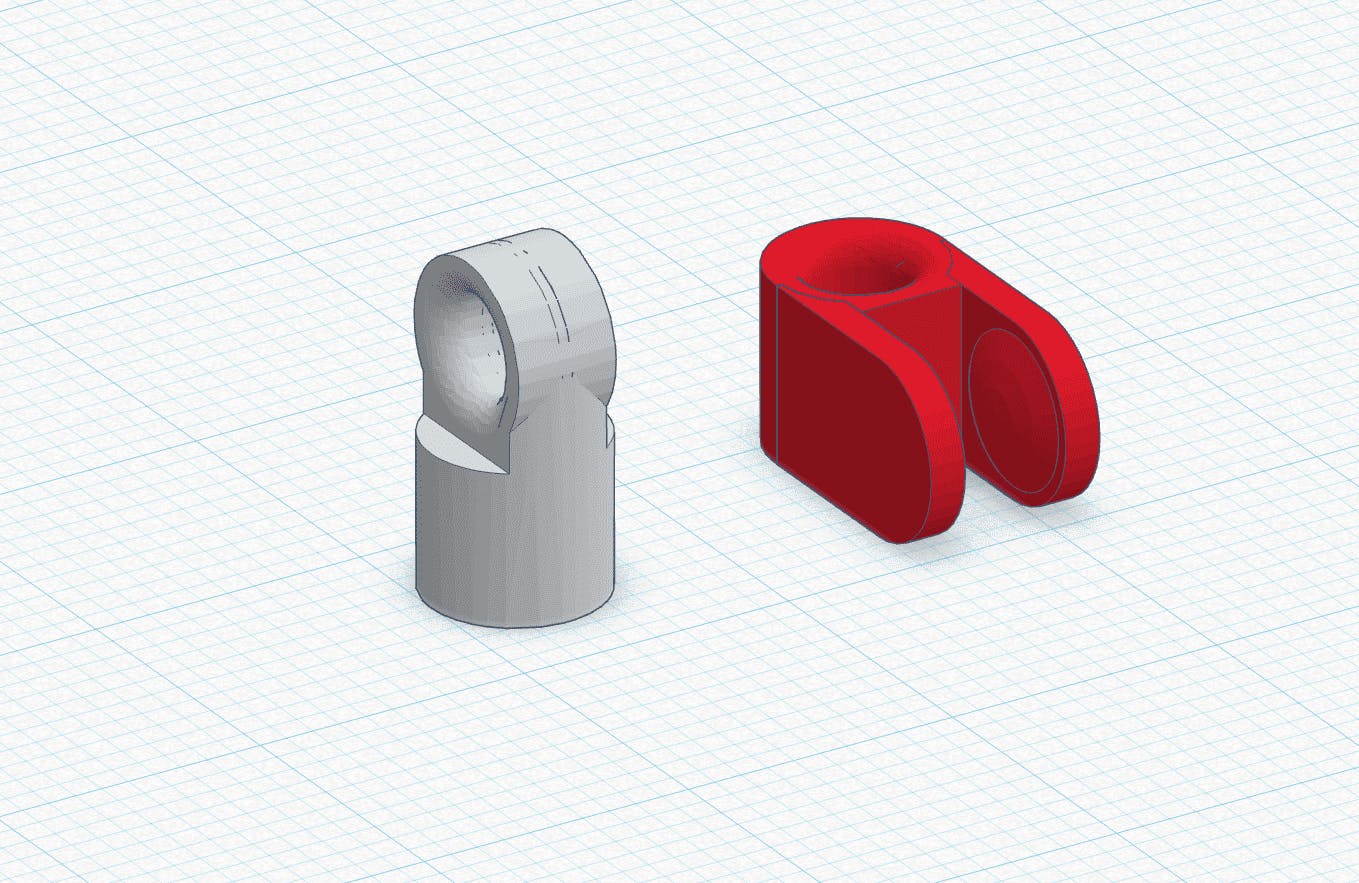
2. Made the hinge out of what is basically a compressed through hole from a T. The mating part uses partial sphere “bumps” which you snap over the hole for a friction fit.
3. Rotates smoothly. If you want it to be solid, a drop of CA glue would do the trick.
4. Hinge works in full 180 degrees, so you can model parallel conduit.
5. Printed on side.
Please try them out and make improvements if you want. Perhaps there are better ways, but this seemed like the simplest.
I uploaded STL files to Thingiverse as a remix. (Remixed here: https://www.thingiverse.com/thing:4943938
Mine uses mm dimensions, but originals were imported into TinkerCAD in inches, since I read that was an issue for some people.
Please try them out and make improvements if you want. Perhaps there are better ways, but this seemed like the simplest.