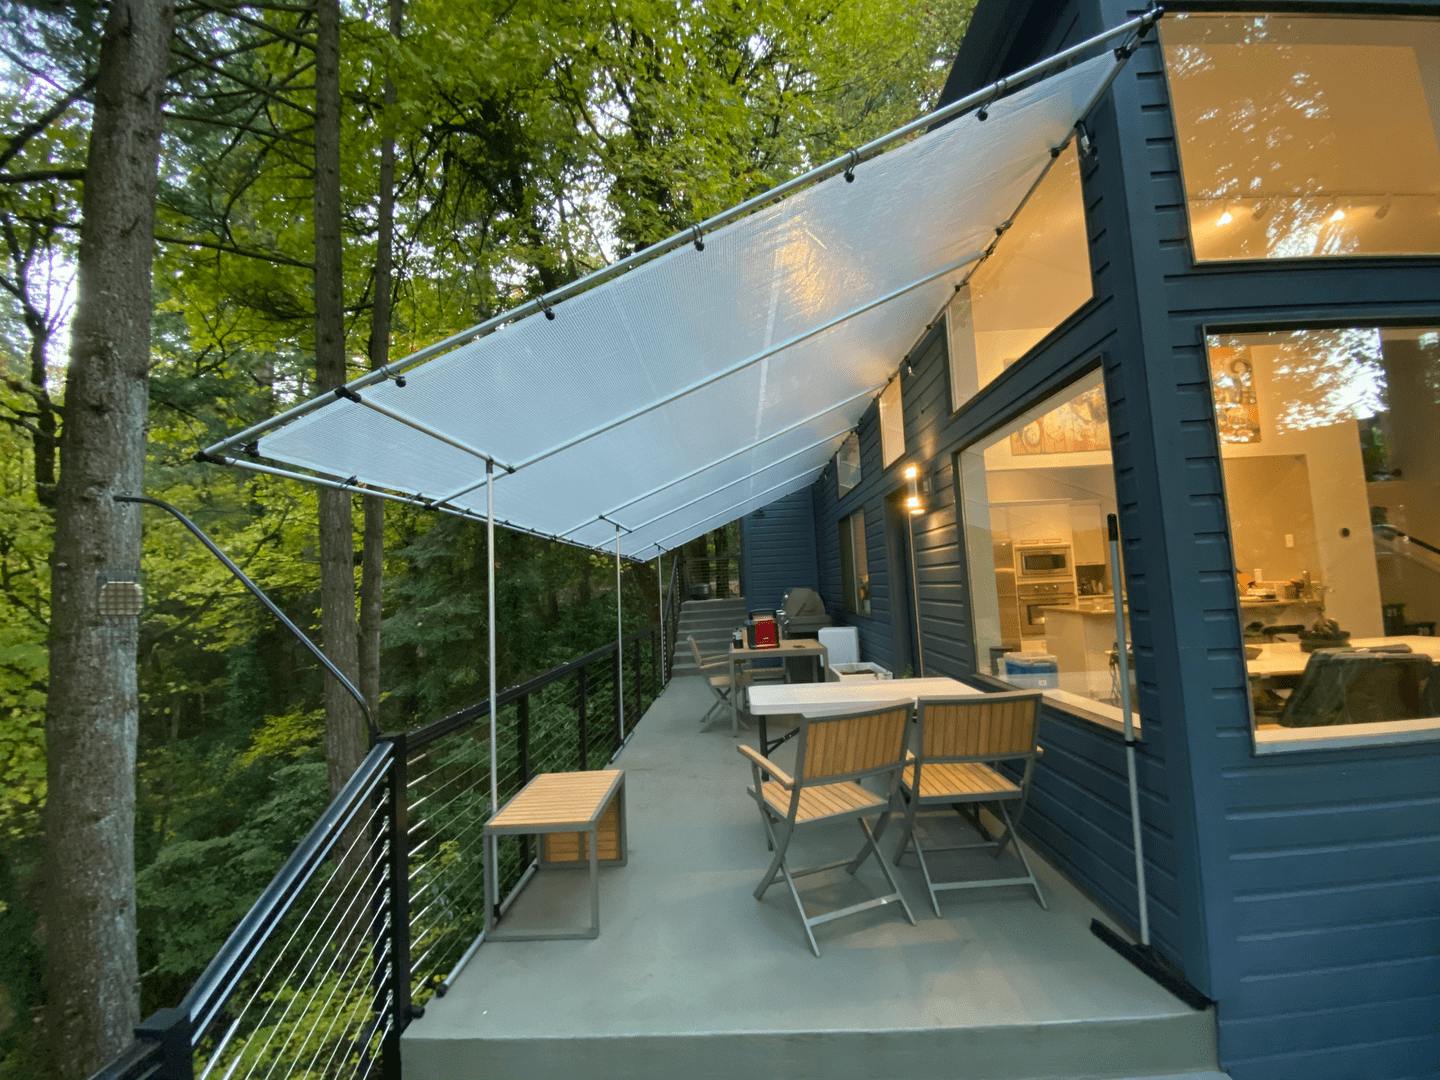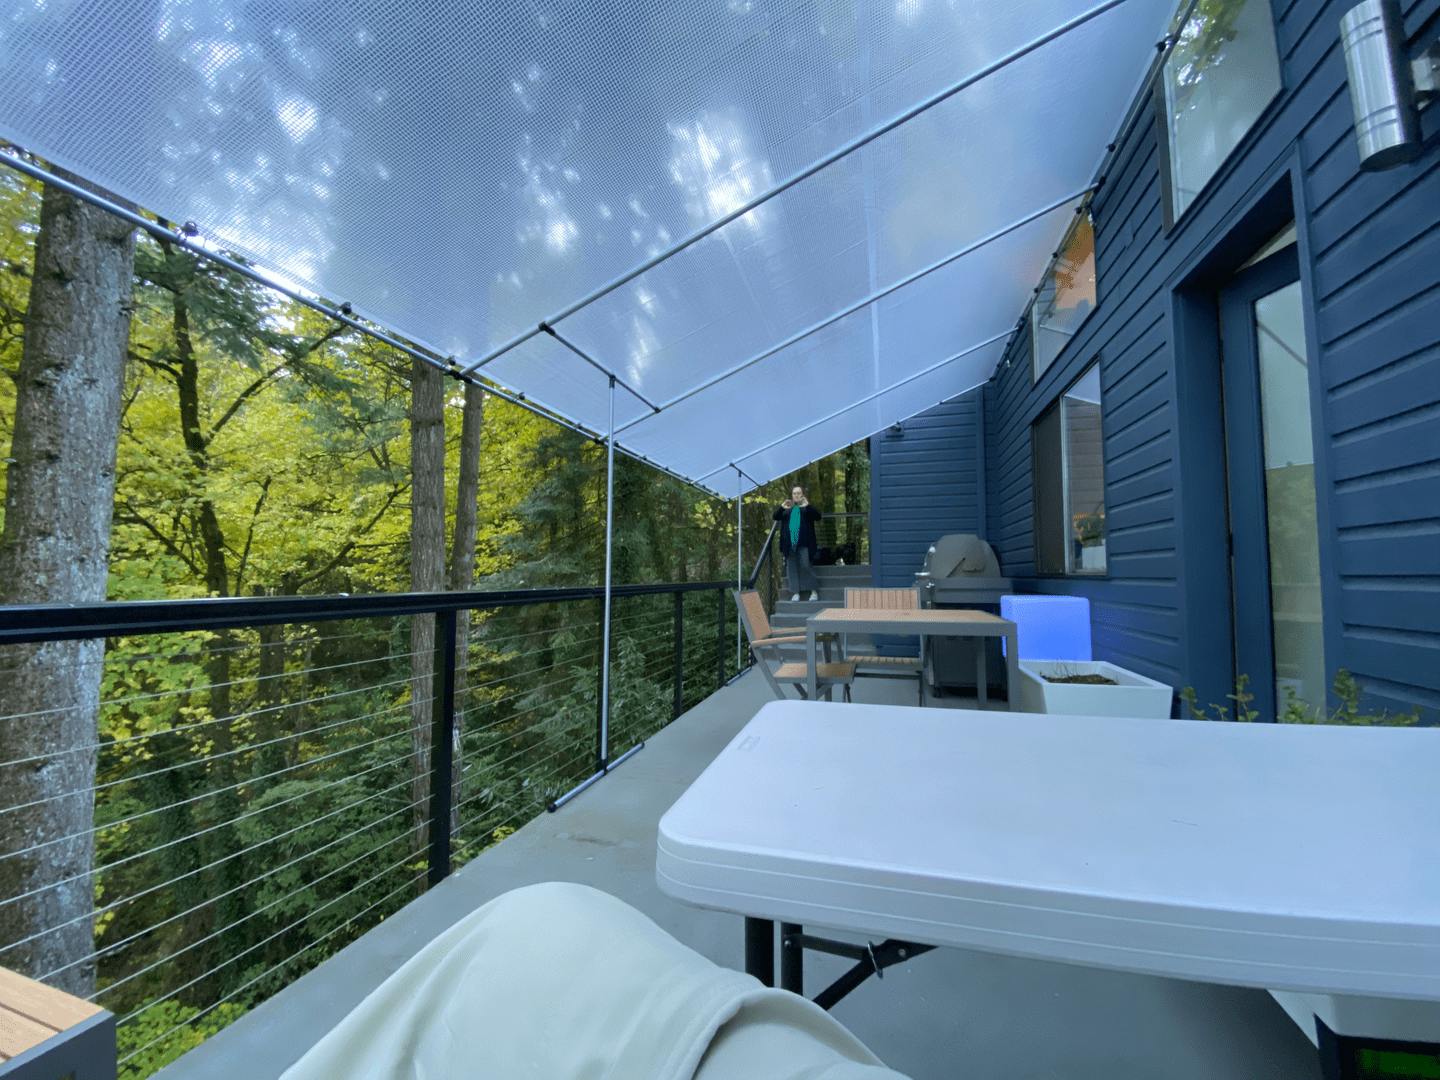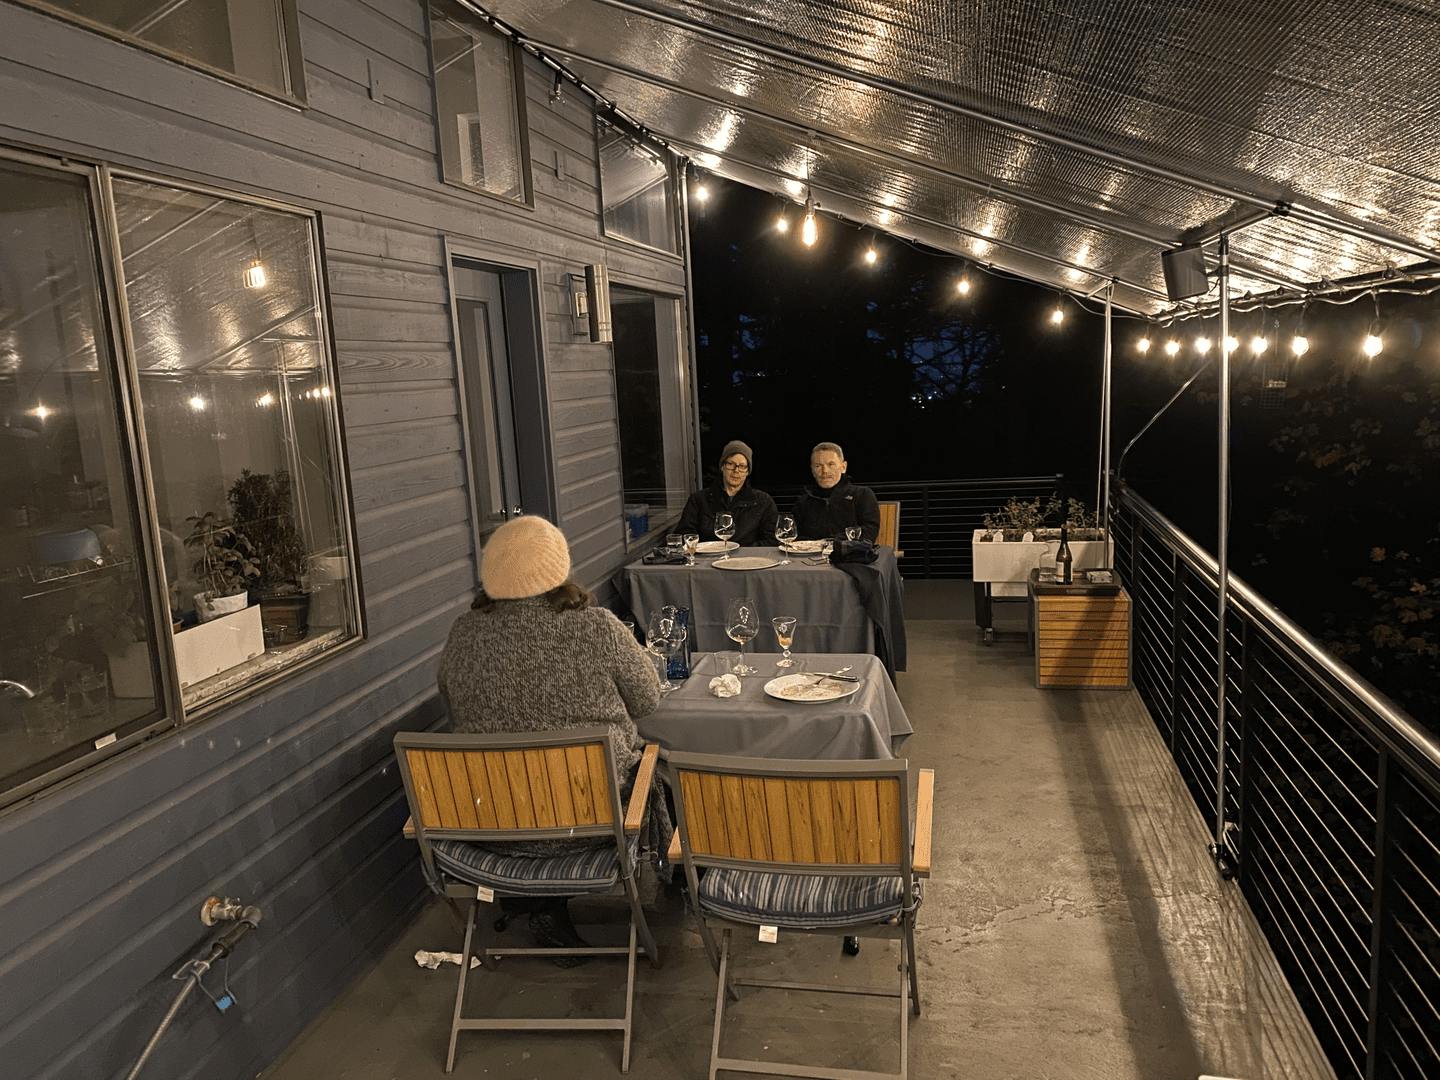
Converting our Pacific Northwest treehouse deck into a dry space for safe social distanced outdoor grilling and shared couples meals.
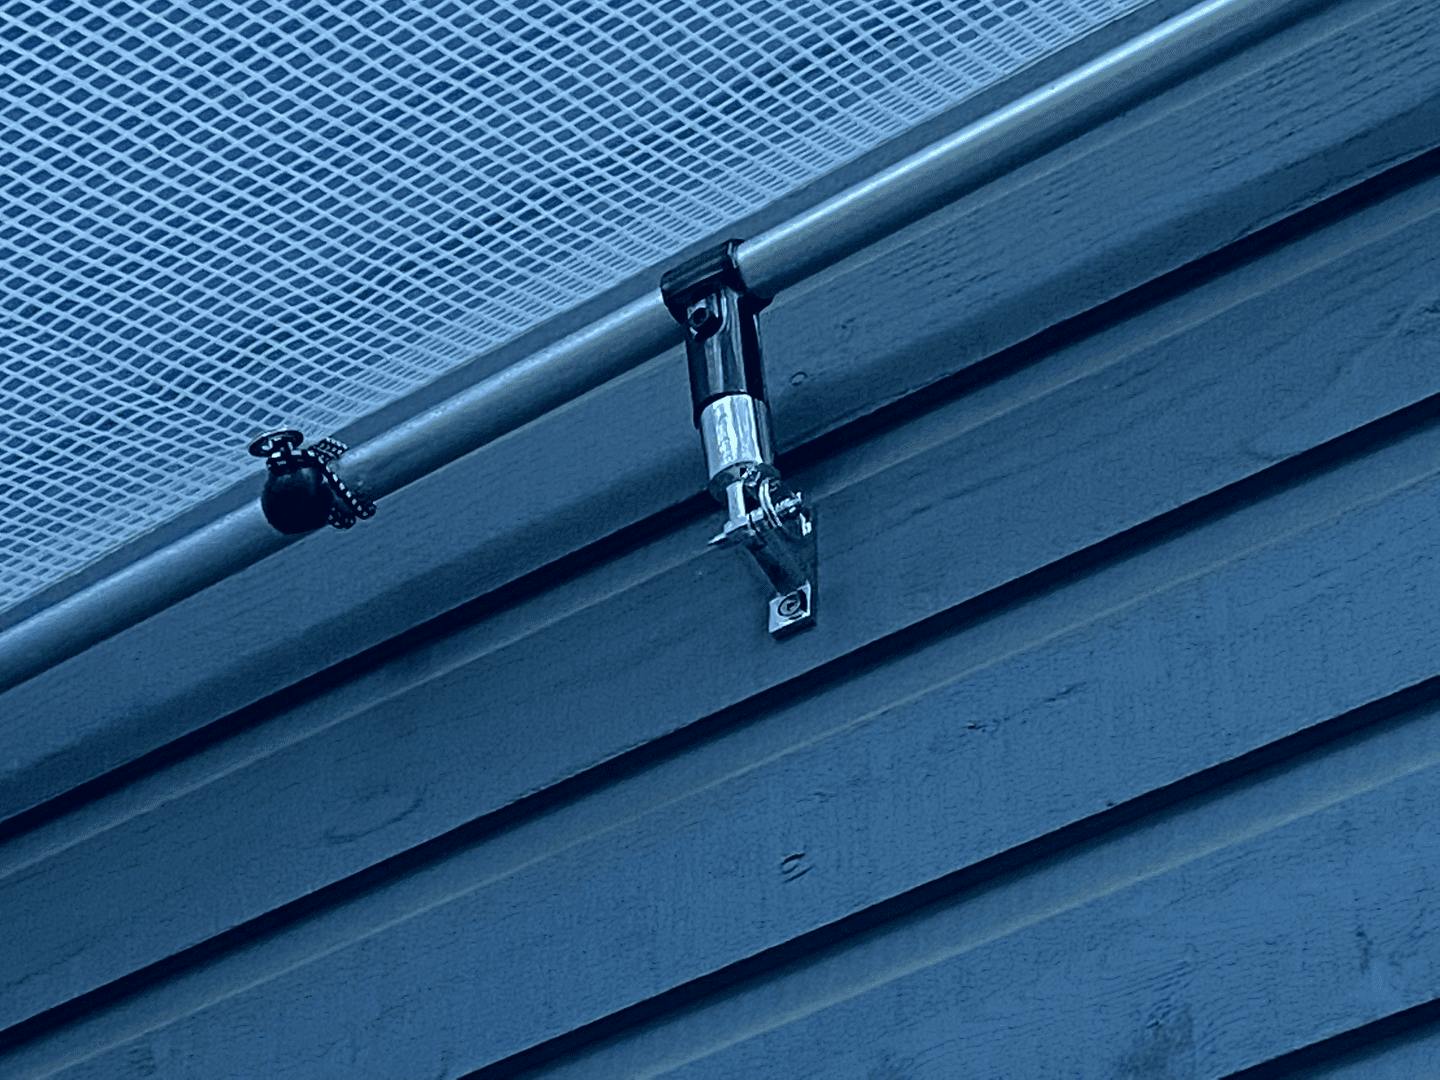
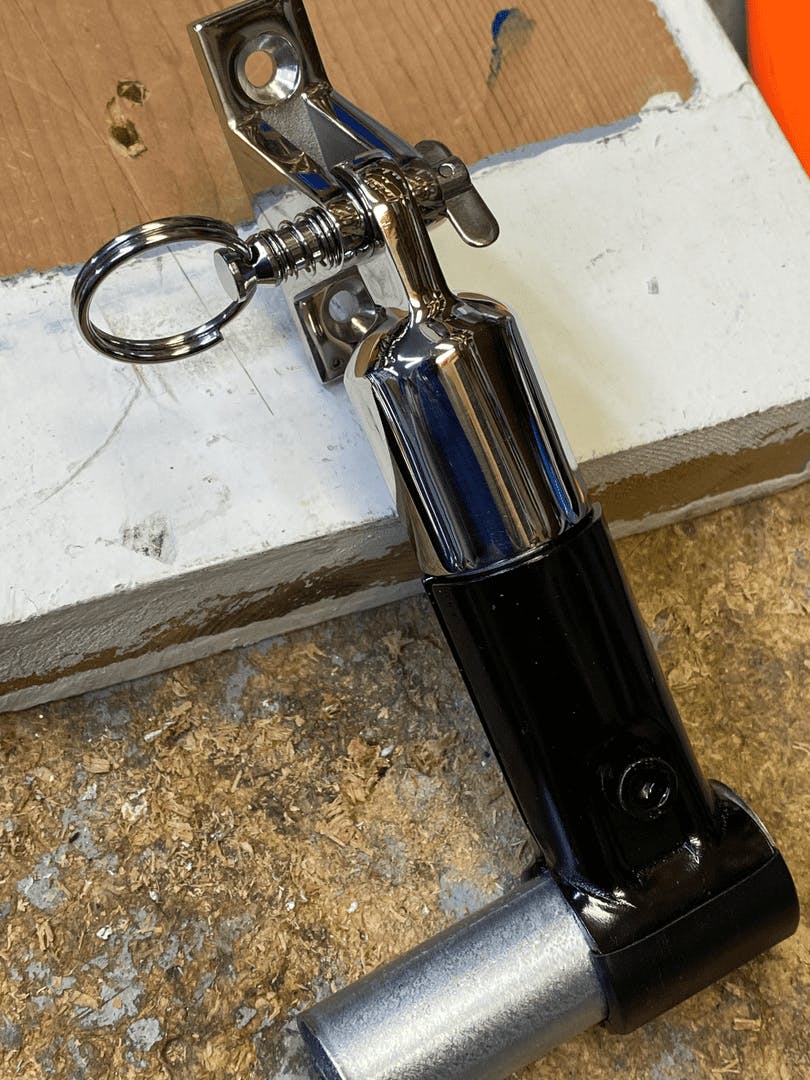
Used Maker Pipe 90s and 180s to build a lean-to canopy. This simple build was made possible by the Maker Pipe and the marine bimini mounting hinge brackets. Hinges are stainless steel, two parts. The receiving bracket uses a spring pin to hold the pipe-mounted eye bracket.
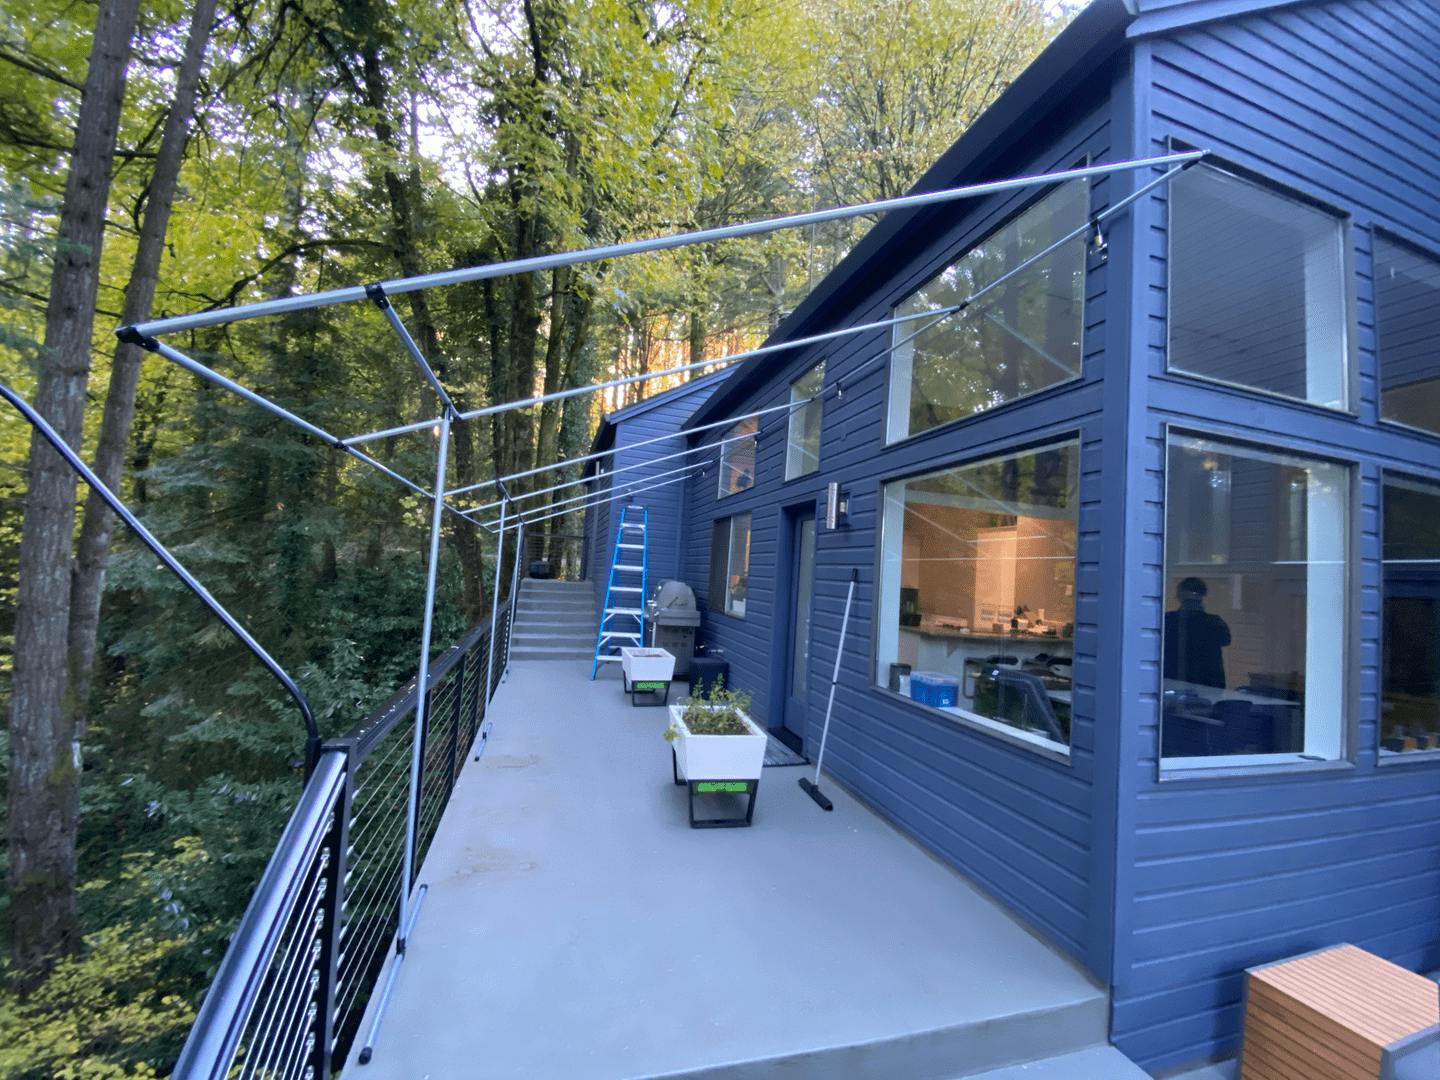
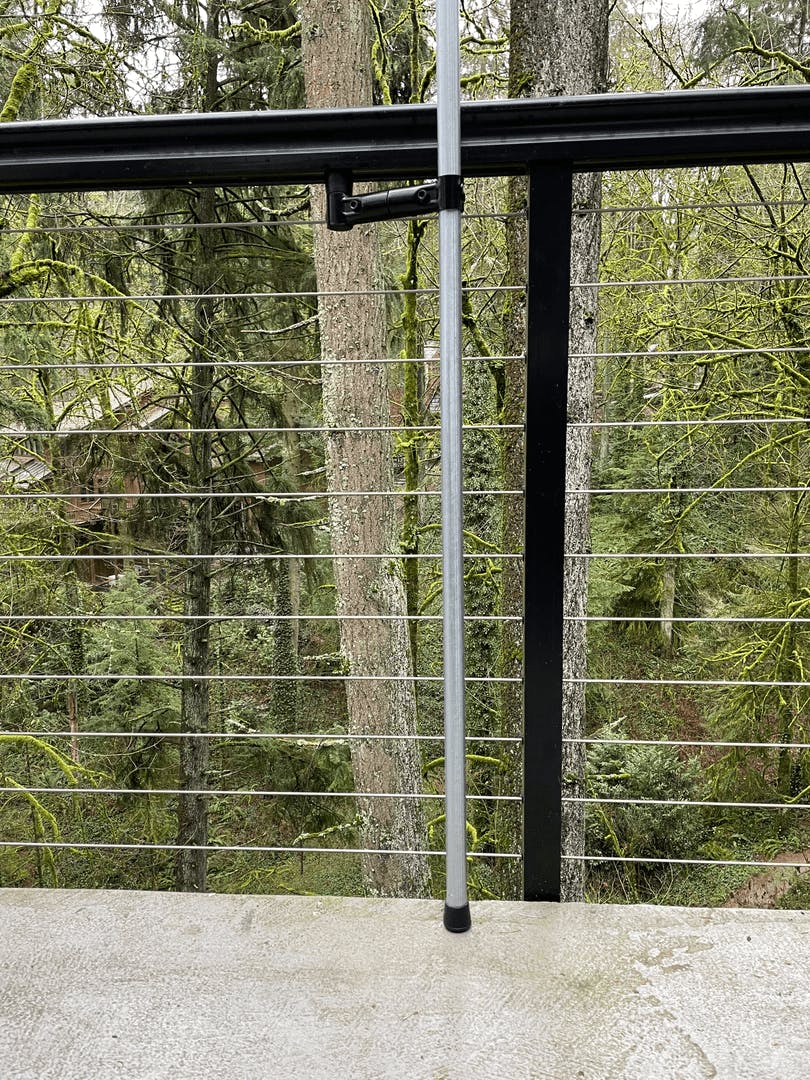
Total size is 24’ x 10’, mounted 9 feet high on house side, 6 feet on railing side.
We got lucky in that this section of the deck is exactly 8’ wide. The 10’ EMT overhangs the railing perfectly.
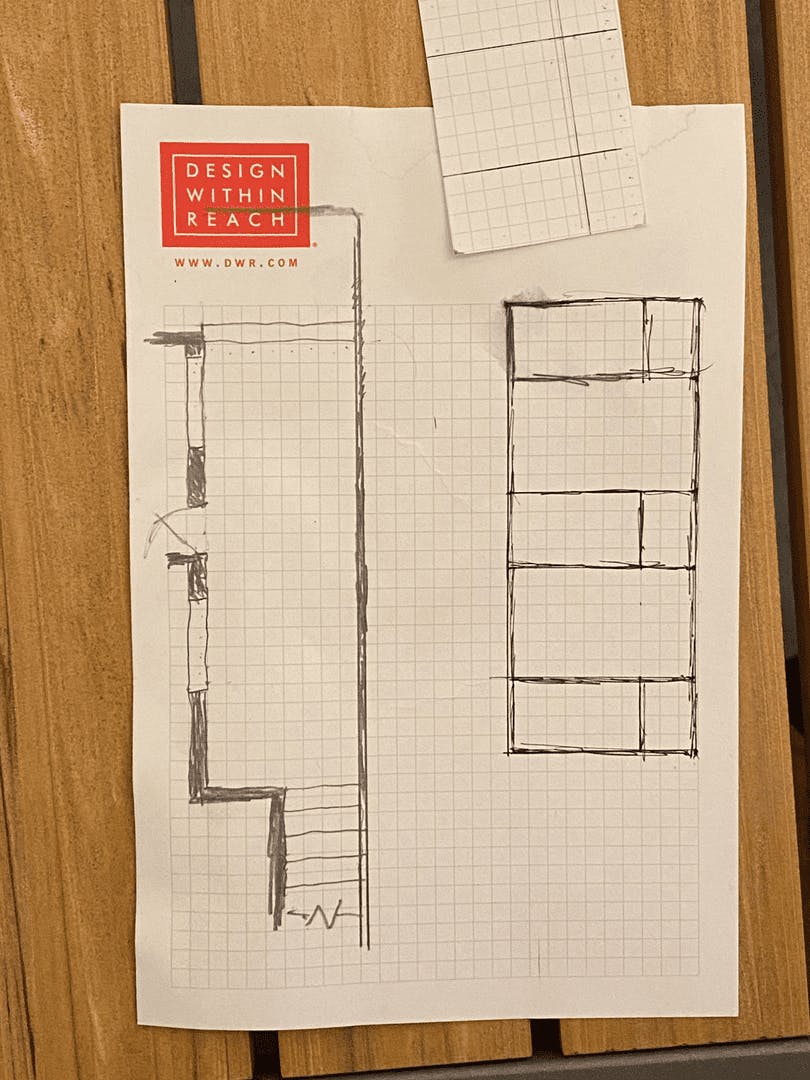
The design is made of 5 sections, each 10 feet wide from house to rail. The sections are 4, 6, 4, 6, 4 in that order, measured on center of the pipes so a 24x10 tarp fits perfectly (tarp trade sizes are 6 inches shorter in each dimension to account for bungee tie mounting). Thanks, Maker Pipe!