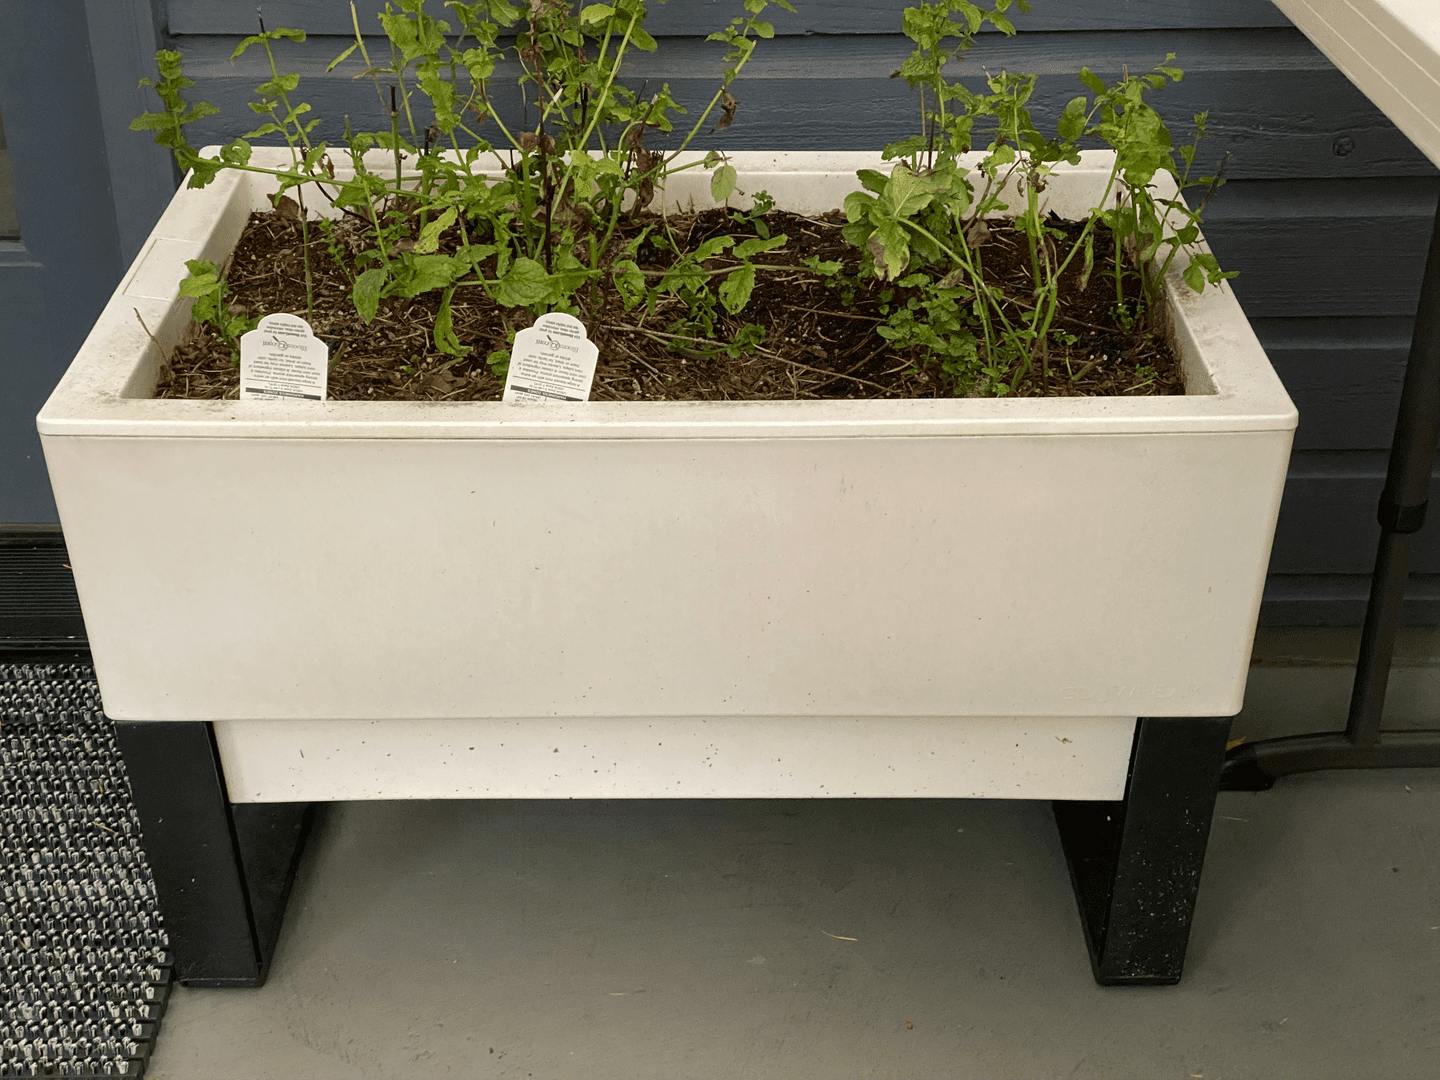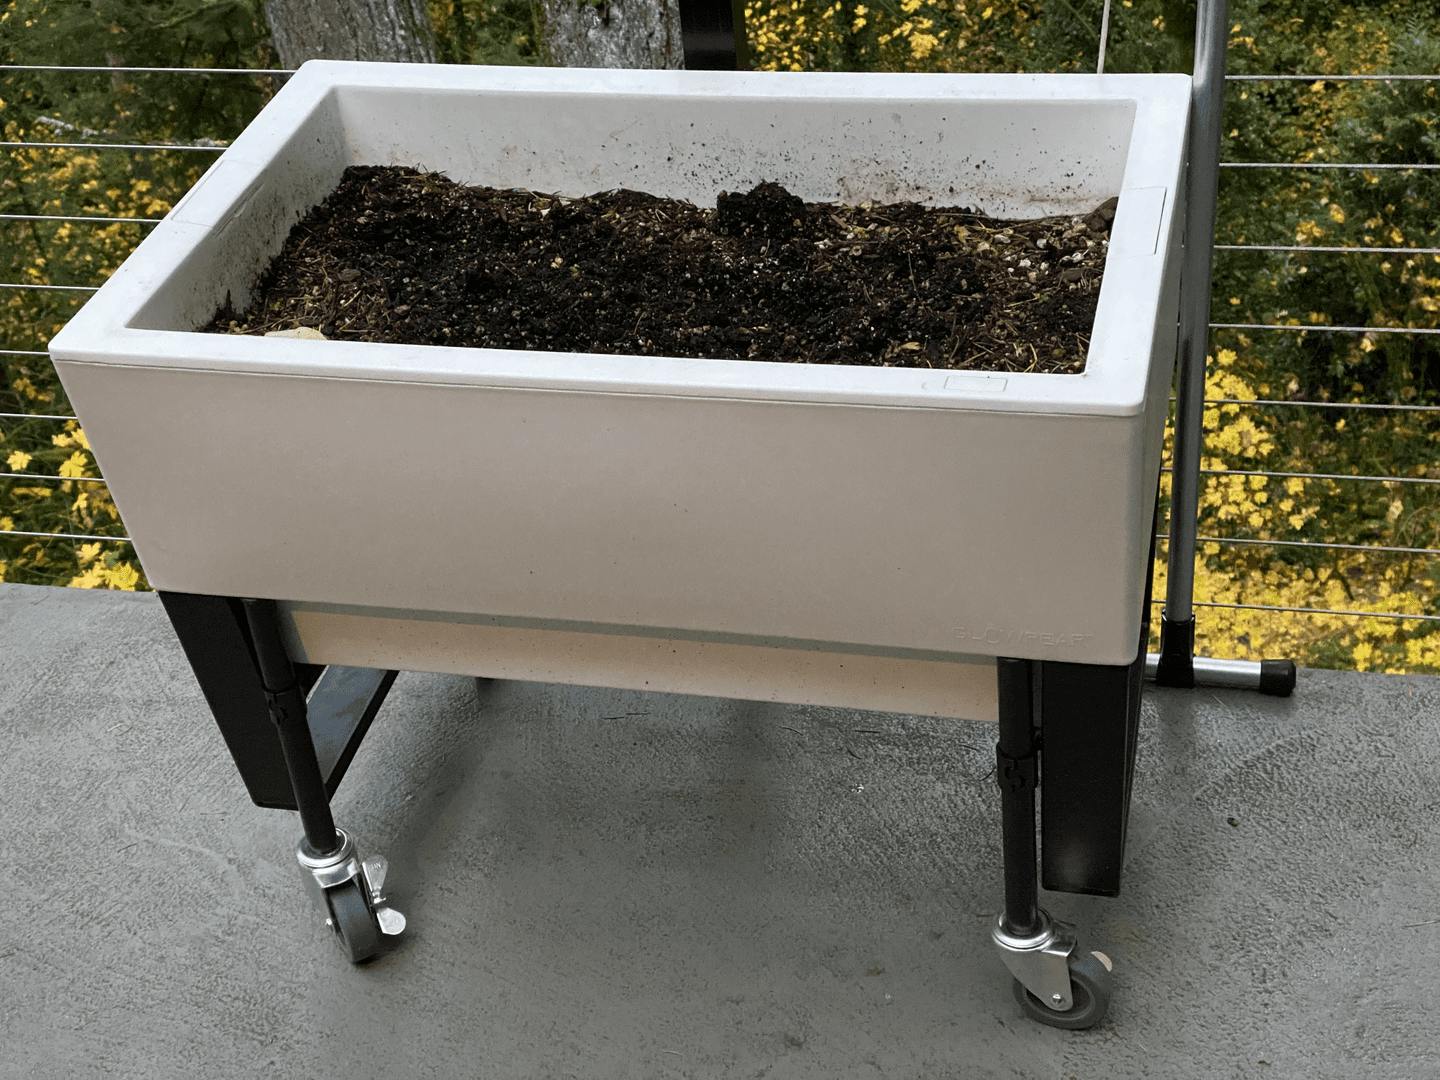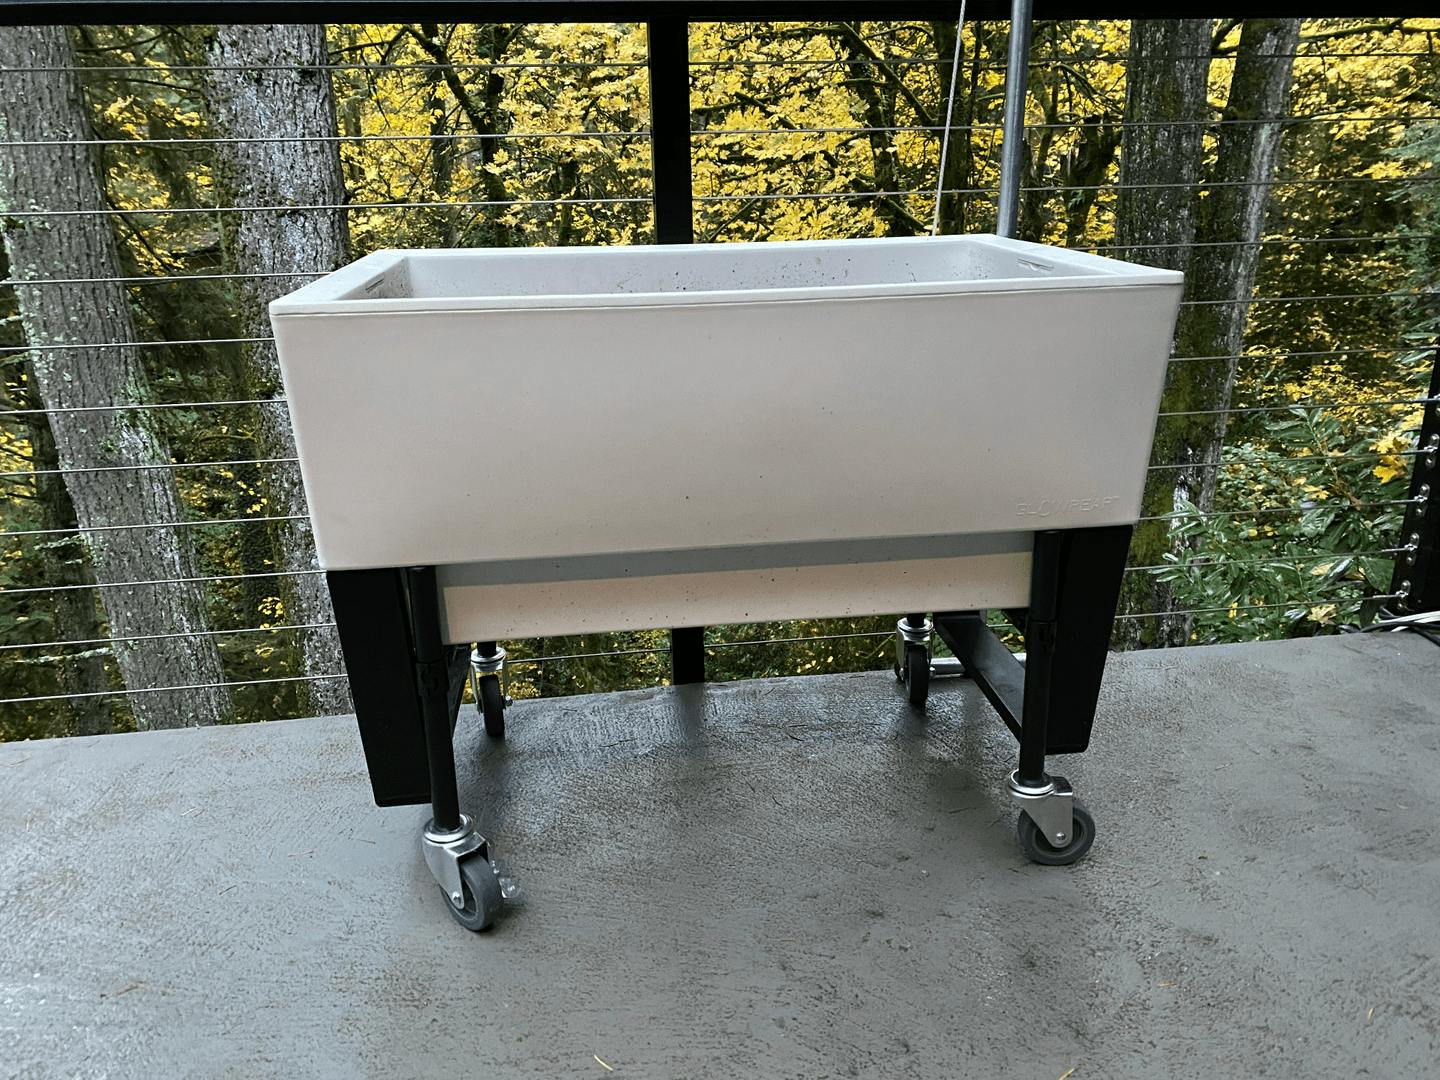
Today, I “mobilized” our two GlowPear planter boxes with a Maker Pipe support frame using the caster kit.
For those who know about them, the GlowPear are big, double-walled plastic planter boxes with an internal water reservoir. This makes them somewhat self-watering, as it allows the soil to draw moisture as needed from a lower section that you keep full. However, all of that water makes them VERY heavy, and while assembling our Maker Pipe canopy, we found that they were in the way.
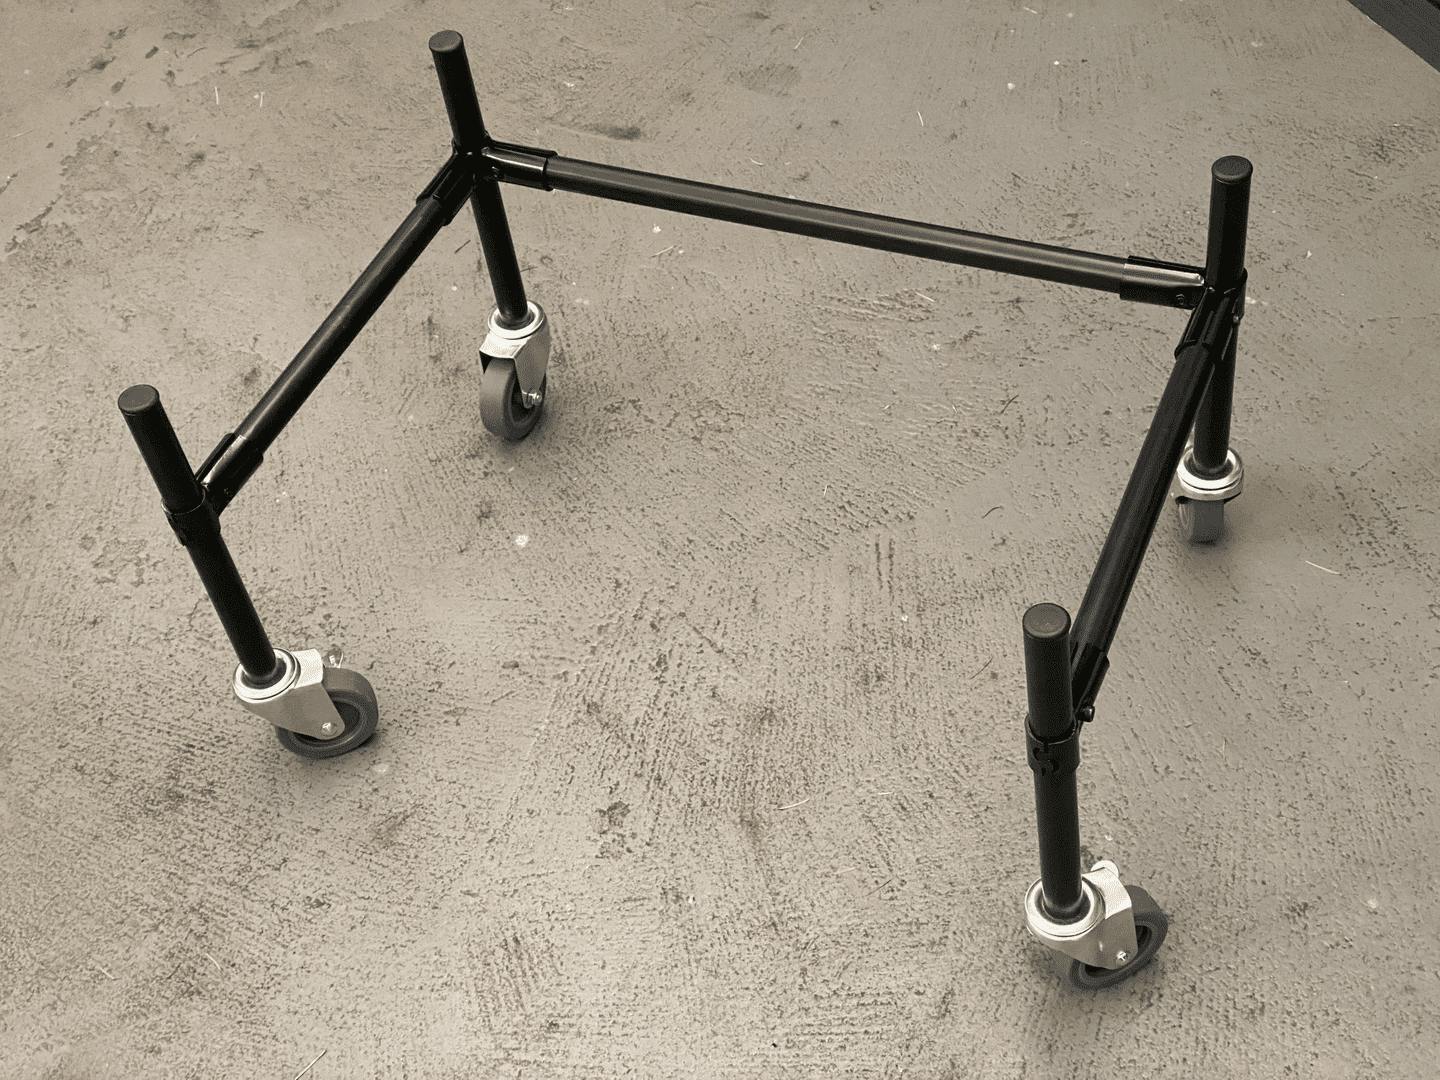
Any other box might have allowed me to simply attach casters with screws, but you definitely don’t want to puncture the plastic walls of these containers. You also need unrestricted access to the overflow trays on the sides. Anyway, making a simple roller frame seemed like an easy choice.
The frame is designed to be as simple as possible using as few parts as possible. I went with a single horizontal pipe at 20”, four legs that nest under the overhang at 10.5” and pipes from front to back at 12.875”. They are held together using just four Maker Pipe components: 2 90s and two T connectors. Pipes are wrapped in black heat shrink.
Now, the heavy containers are easy to move around the deck. As a bonus, the horizontal pipe which I oriented to the back of the containers is accessible for tying off the Maker Pipe deck canopy to give it some weight in case of high winds. I can also attach a T-connector for future shade or netting over the containers.
Thanks, Maker Pipe!